
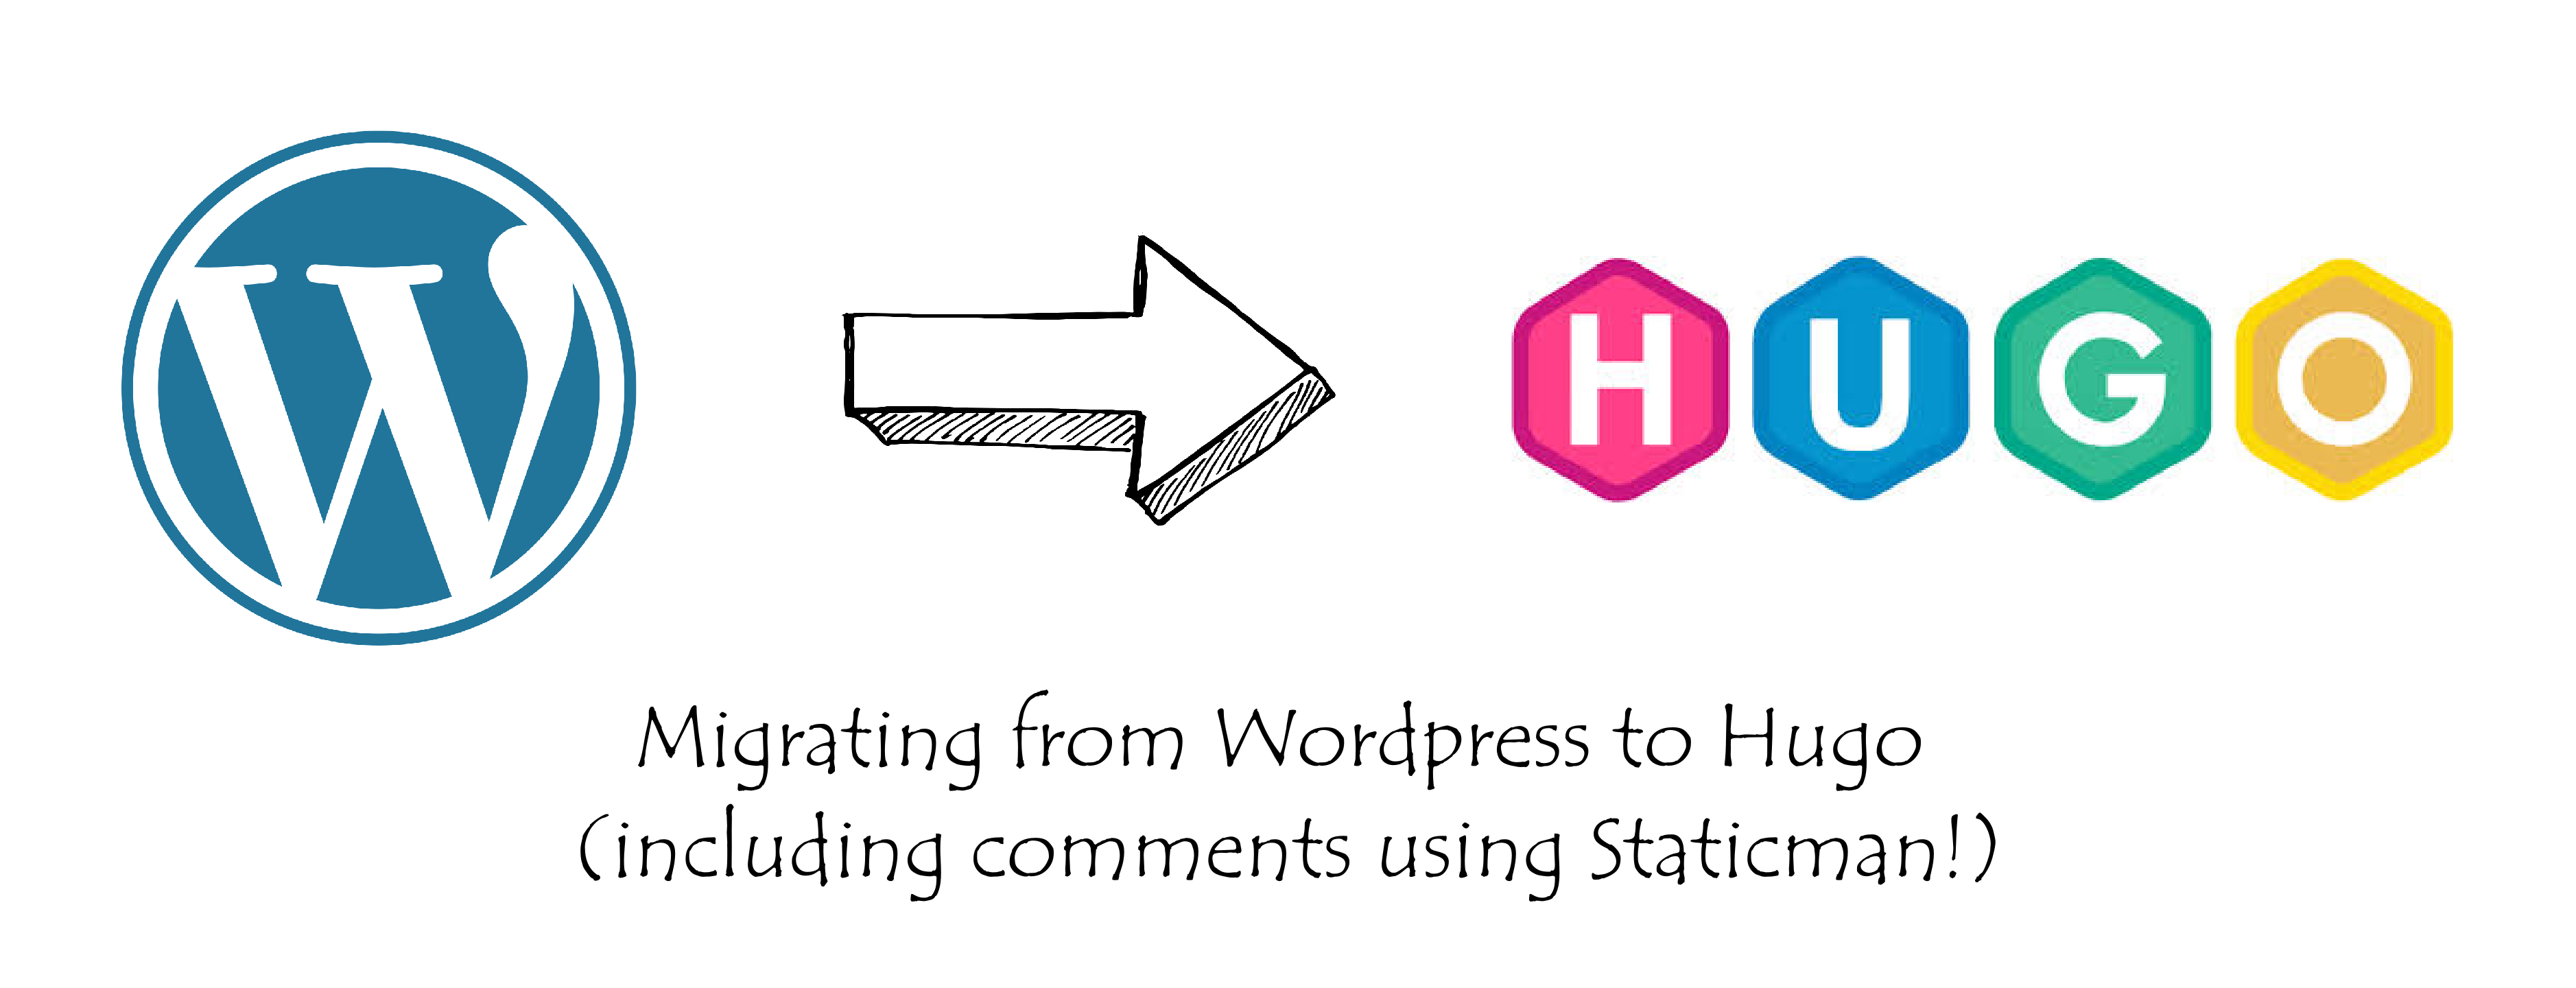
Migrating from Wordpress.com to Hugo With Comments
Hi beautiful people! 👋 Recently I decided to go all-in on static site generator, Hugo, and move over my Python Tips blog from Wordpress to Hugo. I will share the exact steps I took during this migration. It was slightly more involved than I would have liked. I will not share the reasoning behind why I moved to Hugo in this post, but rather just the details of how the process went.
Some context
My Python Tips blog was hosted on wordpress.com and had been there since 2013. As part of this migration I moved the blog to Hugo, the comments to Staticman, and host the new static blog on Netlify.
Exporting the content from Wordpress
The first step was to actually export the posts from my Wordpress account. I used the wordpress-to-hugo-exporter plug-in. I had a free account on Wordpress.com so I couldn’t use the plugin directly. What I ended up doing was:
- Go to the admin panel of your Wordpress.com (or .org) website and choose “Export All” content

- Set up a local Wordpress instance using docker4wordpress
\Desktop\docker4wordpress> docker-compose.exe up -d
Creating network "docker4wordpress_default" with the default driver
Creating my_wordpress_project_portainer ... done
Creating my_wordpress_project_mailhog   ... done
Creating my_wordpress_project_php       ... done
Creating my_wordpress_project_mariadb   ... done
Creating my_wordpress_project_traefik   ... done
Creating my_wordpress_project_nginx     ... done
- Go to localhost and after setting up Wordpress use the Wordpress Importer
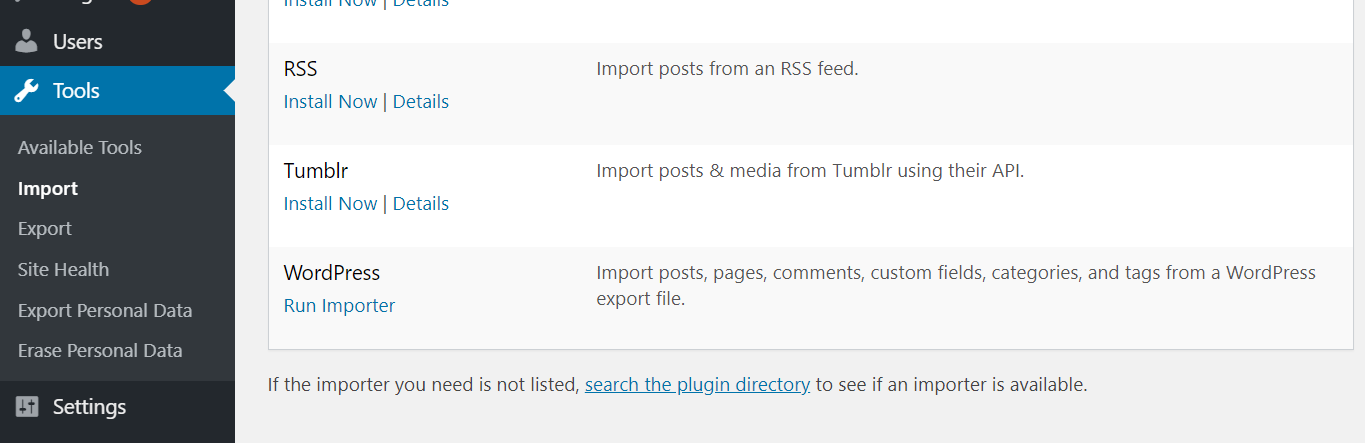
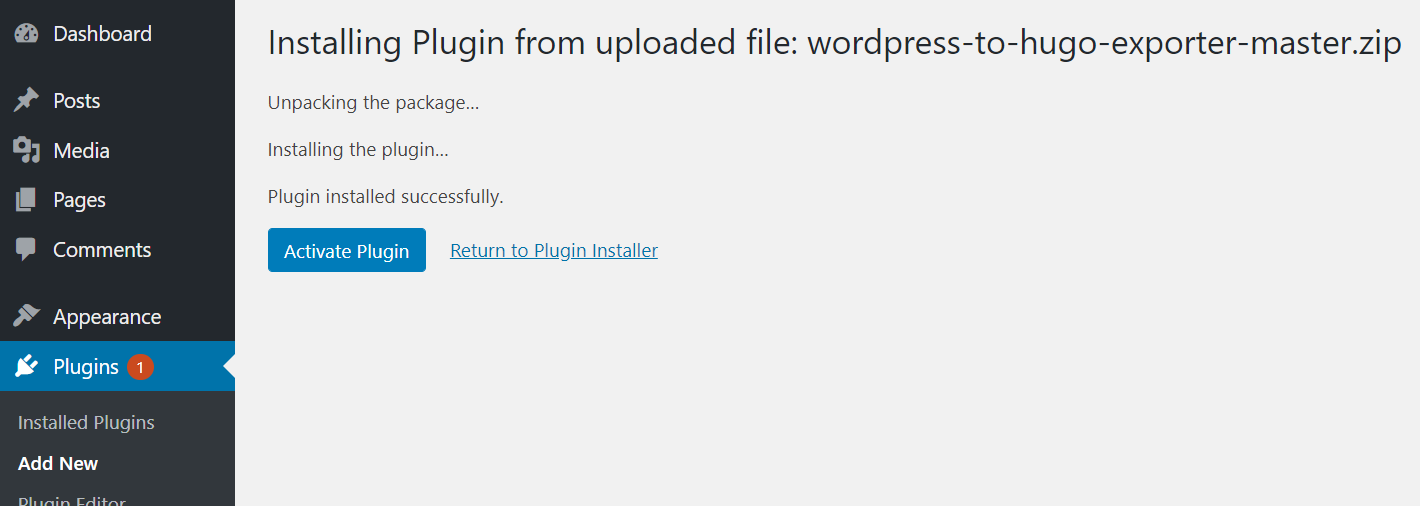
- Install the wordpress-to-hugo-exporter plug-in
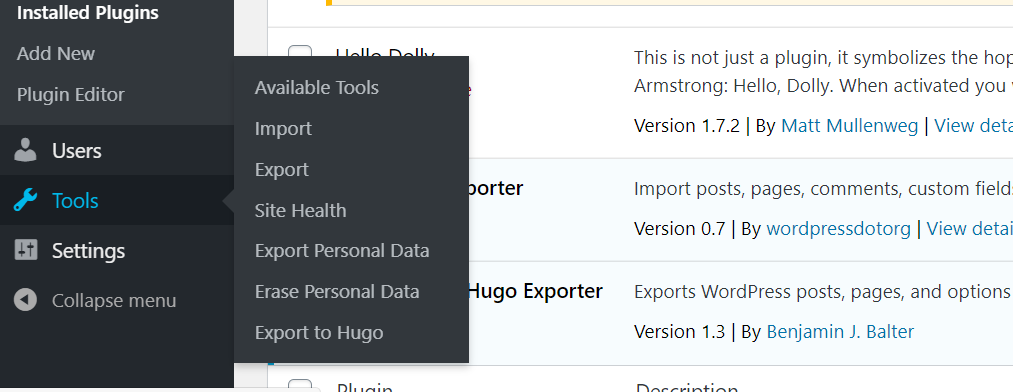
- Go to tools and click on “Export to Hugo”
Depending on how your original website was set-up the exported zip file will contain a bunch of folders. One folder will be posts which will contain all the blog-posts and the rest of the folders will be for different pages you might have made in your Wordpress website.
These were the folders that I ended up with:
books config.yaml index.md python-resources python_blog sample-page
The wordpress-to-hugo-exporter plugin appends an absolute path as url property in each of the markdown files. For instance, look at the url property in the metadata of one of the exported posts:
---
title: Looking for an internship for Summer 2020
author: yasoob
type: post
date: 2019-09-17T20:27:49+00:00
url: /2019/09/17/looking-for-an-internship-for-summer-2020/
timeline_notification:
  - 1568752071
publicize_twitter_user:
  - yasoobkhalid
categories:
  - Personal
tags:
  - internship
  - internship search
  - summer 2020

---
This is what allows your old post links to work in Hugo. Now no matter where you put these files/folders inside the content directory in Hugo, Hugo will serve the right post. For example, normally if a file called article.md is stored in content -> posts -> article.md then Hugo will normally serve it at the website.com/posts/article.md endpoint. But if article.md has a url property defined then Hugo will serve article.md at that endpoint.
Cleaning up the markdown posts
The output from wordpress-to-hugo-exporter wasn’t super clean. There were a couple of issues with the output.
- Code was wrapped up in
<pre>tags and not<pre><code>. That wasn’t actually the plugin’s fault. Because of how Wordpress was rendering my code blocks, I used to just wrap them up inpreinstead ofpre + codetags. - There were spaces before some
:,., and?in the markdown files. This was mainly in the posts I wrote in 2013. I am not sure whether this was caused by the plugin or whether my posts already had those spaces in them. - The
<img>tags were usinghttp://wp.docker.localhost:8000/as the base URL for images. I could have gone back and set up a custom URL in the admin panel of my local Wordpress installation to change the base URL but I decided to just go back and manually clean up lingering HTML tags (there were quite a few<divs>rolling around).
After cleaning up lingering HTML tags, converting <pre> tags to proper <pre> + <code> tags, removing extra whitespaces, and fixing the image sources, I was good to go.
Copying the images
The wordpress-to-hugo-exporter also puts the wp-content folder in the zip file. Just copy the wp-content folder to the static folder in the static folder in the base of your Hugo source folder. There will be quite a few extra files than the ones you actually need to serve the website. For instance, your images will have 2-3 different copies of various dimensions. I personally just let the files stay there in the wp-content folder. You might or might not want to do something else with them.
Converting comments to Staticman
As you might already know, I use Staticman for comments on this static blog. I have written previously about how to set it up. I planned to export the old Wordpress blog comments to the YAML format which Staticman uses. The way Staticman works is that it creates a folder with the same name as the filename for a post (without the extension) and then puts comments for that particular post within that folder with the comment-<timestamp>.yml name.
I came across a super basic Python script written by Dan which did something similar to what I wanted to do. I ended up modifying his script quite a lot to suit my own needs. You can get my script from here. Unlike the original script, my script is Python 3 compatible and actually saves the YAML output in folders in the proper structure.
I ended up having to go back and update some of the comments to include proper <pre> and <code> tags as appropriate. The default output was usable but I wanted to improve the legibility of code in certain important comments. This wasn’t a big deal. I only had to edit a few comments.
Hosting the blog on Netlify
I host my static blog on Netlify. This allowed me access to certain goodies. I could create new features for my blog and put them in a new branch (in the same repo which Netflix uses to build my blog) and open up a PR against the master branch, Netflix would generate a test build from the Hugo source files in the new branch. This meant that I could see whether my Python Tips posts, pages, and comments would display correctly on the final website or not.
One other useful Netlify feature which I use is the Checklink plugin.
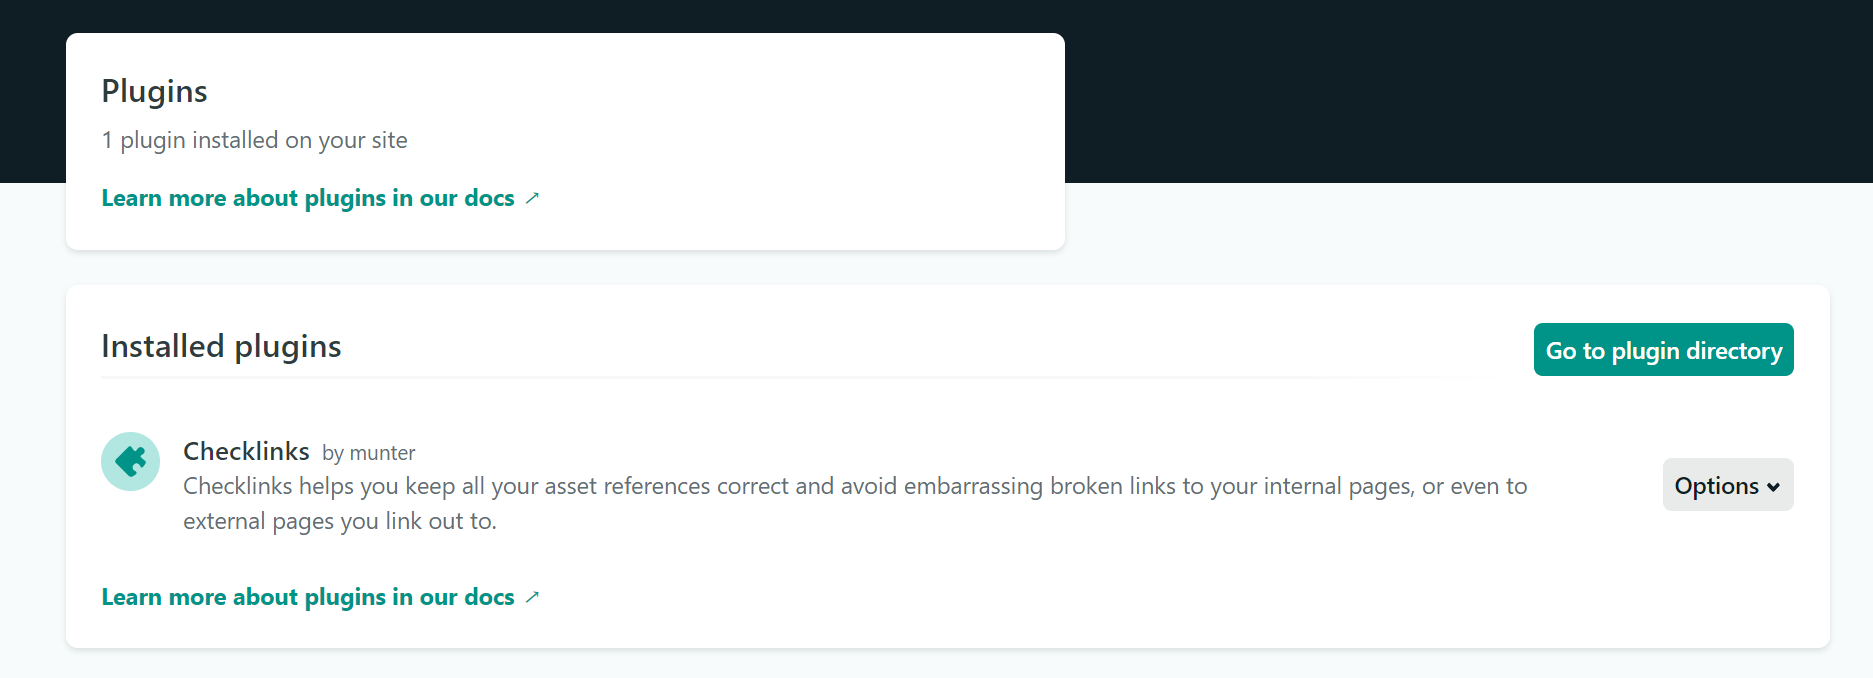
This plugin runs link checks whenever I push new changes to the Hugo repo and fails the Netlify build if there are any broken link issues. This helped me find a couple of broken links to images in the blog source. It’s free and doesn’t add a lot of overhead. I would recommend to enable it. It will save you from the broken link embarrassment 😸
So, in short, the Netlify process went basically like this:
- Copy over the posts from
wordpress-to-hugo-exporteroutput and put them in the posts folder - Copy over the comments to the
datafolder - Enable the
Checklinksplugin in Netlify - Commit these new files in a new branch in the blog folder
- Open a PR against the
masterbranch and wait for Netlify to generate test build - Verify the test build and merge the PR
Setting up a redirect in Wordpress
This part is targeted to Wordpress.com users. There are already a few guides for wordpress.org users out there. If you are a Wordpress.com user, you need to go to Site Redirect and add the domain to which you want to redirect your Wordpress.com blog.
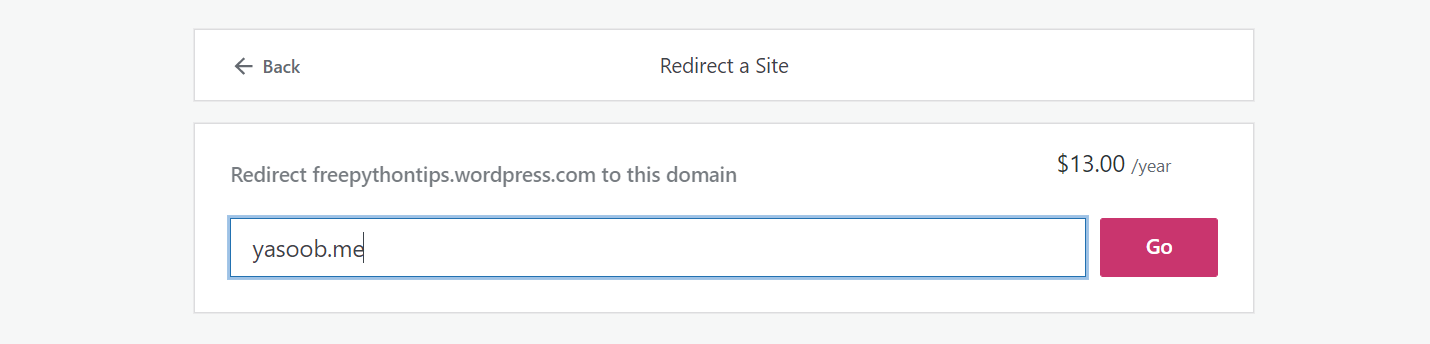
Once you add the redirect, Wordpress.com will automatically redirect all new users to the new hostname while keeping the URL path in-tact. This means that all new users who open up oldblog.wordpress.com/2019/05/29/article/ will now automatically be redirected to newdomain.com/2019/05/29/article/.
When I originally added the redirect the new blog wasn’t already set-up. So it is always useful to keep a reset link in handy as well. To turn off the redirect you need to go to domains/manage, click on “Change primary” and then select whichever previous domain you were using.
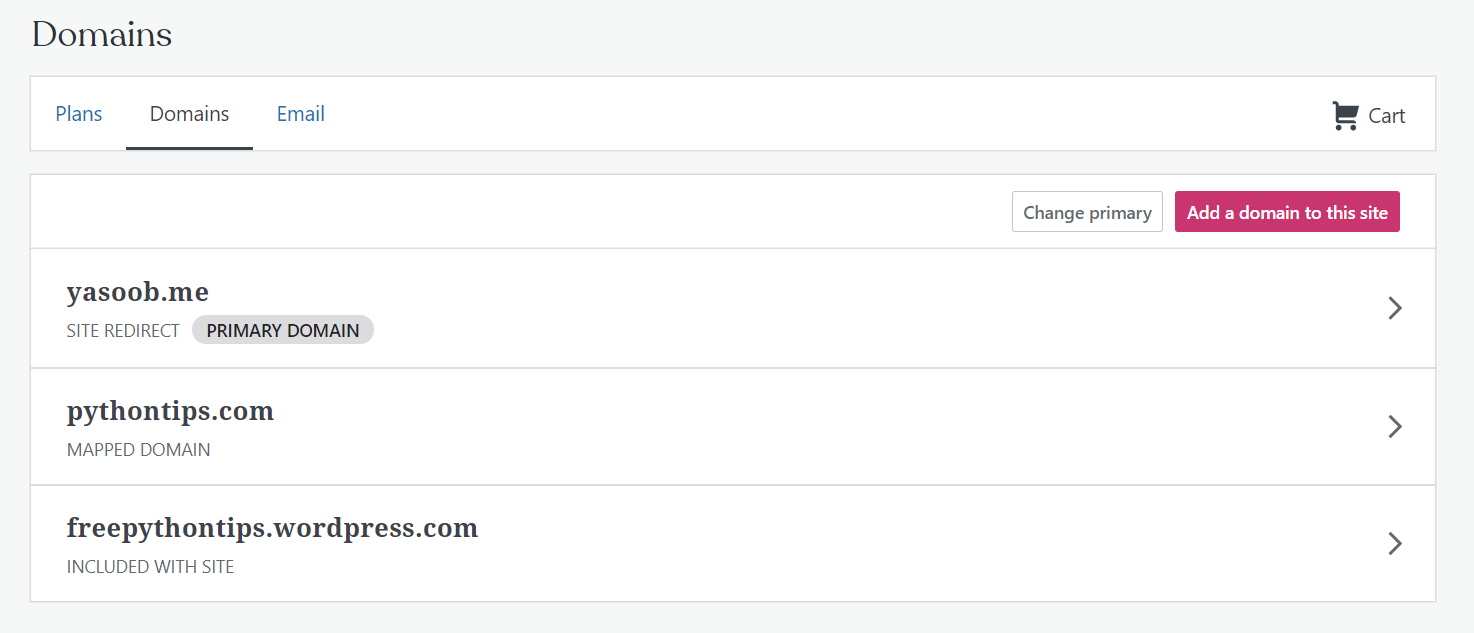
Fun fact: When my blog started redirecting before I had actually copied over the articles to the new blog I panicked 😨 I couldn’t even see the “Change primary” button. Instead of changing the primary, I ended up deleting the redirect altogether. So take it from me, always learn how to reverse an action before actually taking it 😜
Closing remarks
If you have followed the instructions exactly then by this point you have successfully migrated your wordpress.com blog (with comments) to a static Hugo blog. I am not gonna lie, this whole process was quite tedious. I spent a considerable amount of time making sure my posts were formatted correctly in Markdown format. But the result was quite satisfying.
My blog isn’t yet open source. I don’t know why I haven’t gotten around to making it public. I think the only thing which makes me think twice before making a repo public is what if there were some lingering secrets in the repo. I know there aren’t probably any secrets in this repo but I have to be sure before I actually make it public. Maybe that will be my next project? 🤔
If you encounter any issues, don’t hesitate to post a comment below. Even if I am personally unable to help out, I am sure someone else will chime in.
That’s all for today beautiful people. I will see you in the next article. Have a great day! ❤️ 👋
Chris
Yasoob
In reply to Chris
Ryan
Arshad Shaik
Ujjwal