
Running Staticman on Hugo Blog With Nested Comments
Hi everyone! 👋 After transitioning to a static blog/website, I had one problem. My blog no longer had comments functionality. Yes, I could have used Disqus but I personally hate it. It is bloated with a lot of unwanted code. I did some search a while ago but couldn’t find anything. I did a more serious search a couple of weeks ago and stumbled upon staticman and holy moly it is the best thing ever!
Staticman allowed me to integrate comments in my blog for free and also style them in any way I want! However, setting up staticman wasn’t a walk in the park. In this post, I will list all the steps required to setup staticman on a static blog. I am going to be using Hugo for this post as my blog is based on Hugo.
Step 1: Getting a static blog up and running
This should be fairly easy. Chances are that if you are reading this post then you already have a static blog. I am hosting my blog on a combination of GitHub + Netlify. I push updates on GitHub and Netlify builds the HTML files upon each push. I will not go into too much details because the official Hugo website have some good docs.
Step 2: Creating a new GitHub account
So the way staticman works is that it submits a pull request for each comment submitted. For that, it is a lot safer to create a new GitHub account and give it permissions to access your blog repo only, rather than giving it access to everything on GitHub. This way even if it gets compromised, only one repo will be affected.
Let’s imagine this new account is called yasoob-blog (because that is exactly what mine is called. Once you have made that account, give it access to your repo from your parent account. For example, my blog’s source code is stored in a repo called personal_blog. I will go to the settings page of my repo and add yasoob-blog as a collaborator.
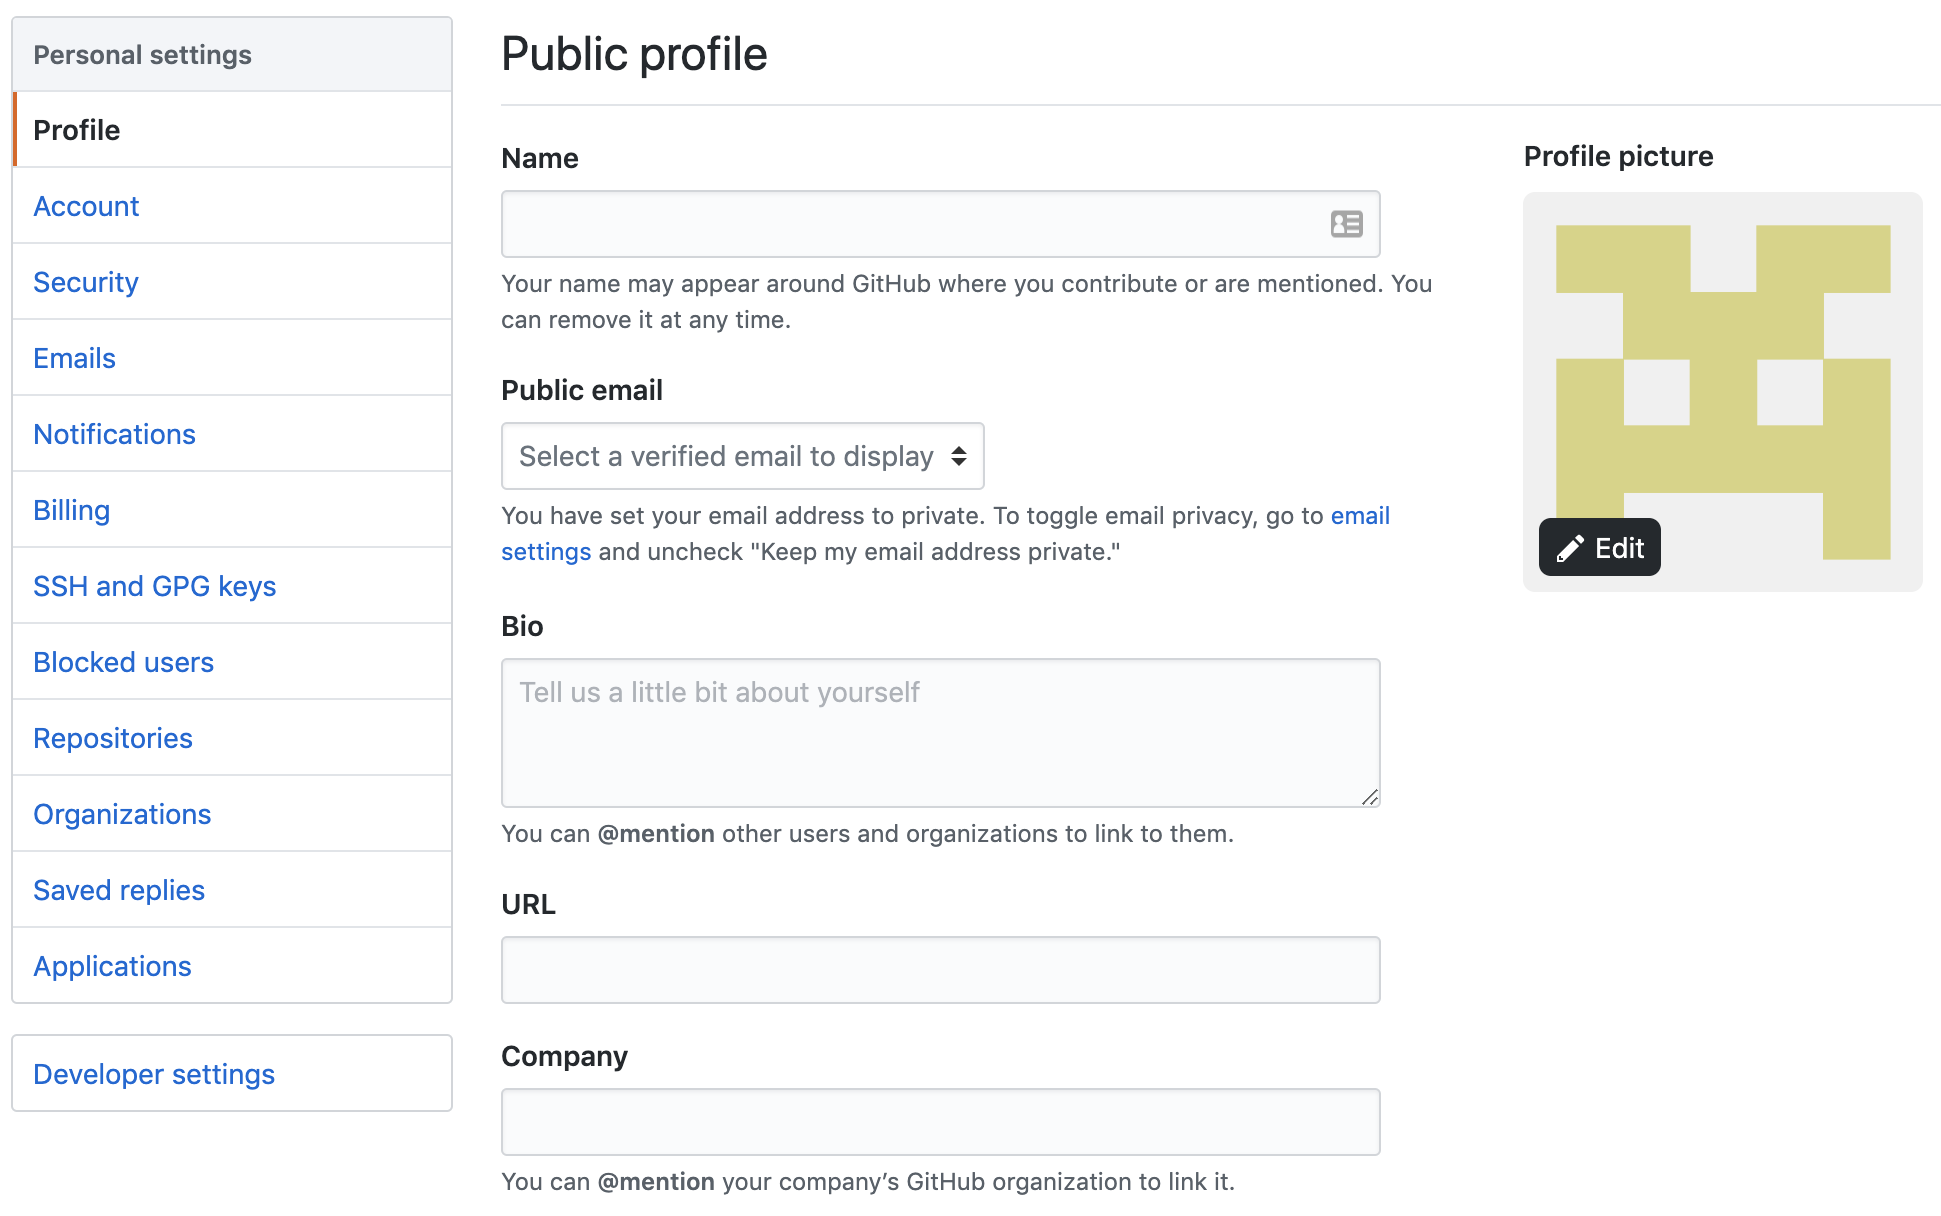
Next step is to generate access keys for yasoob-blog so that you can use this account via the API. In order to do that you need to go to the settings page of your GitHub account.
Click on developer settings and then on personal access tokens.
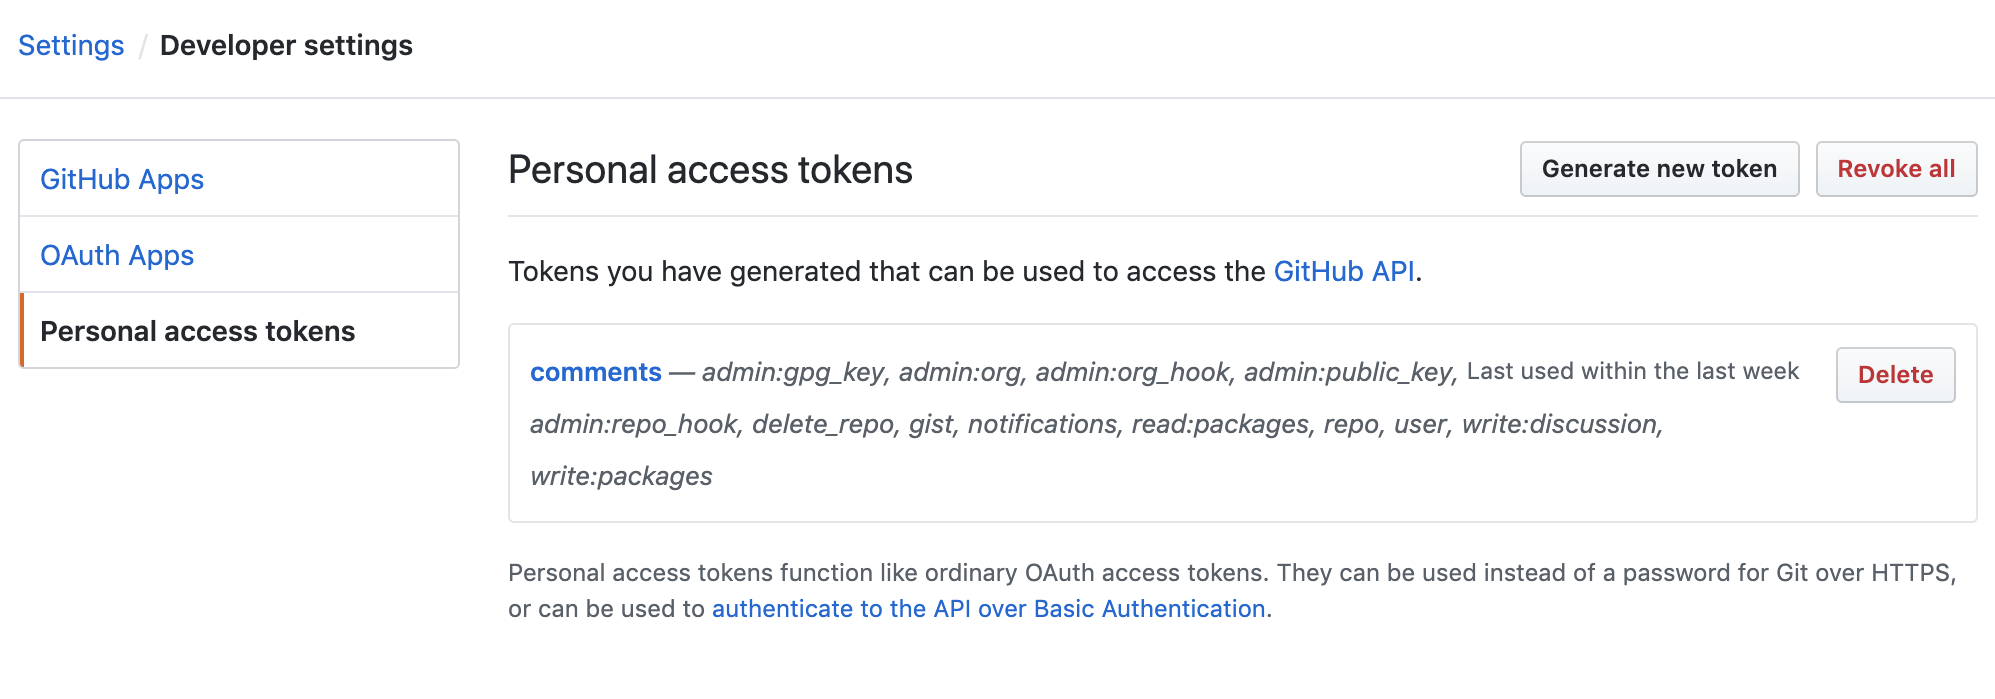
Now generate a new token and give it repo access.
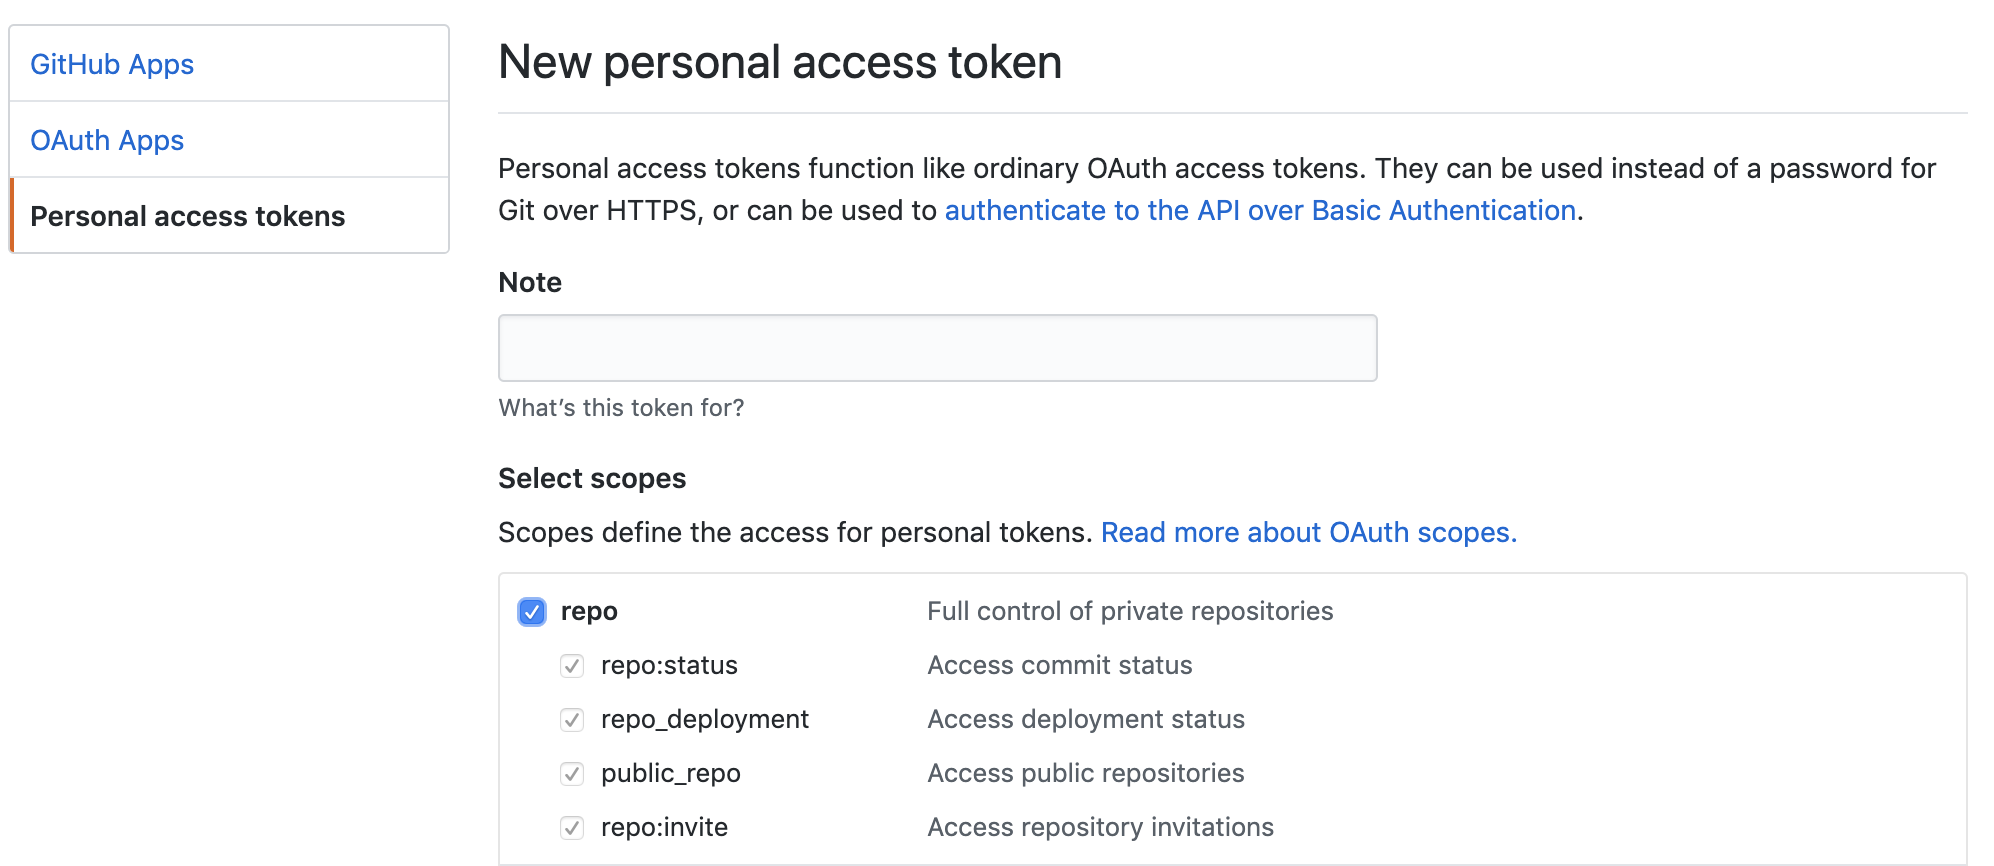
Copy the generated tokens and save them somewhere. We will be needing them shortly.
Step 3: Setting up Staticman on Heroku
The public instance of Staticman was getting rate-limited recently so I decided to set up my own instance on Heroku. + It is easy and free to set up so why not?
Clone the staticman repo in your computer:
$ git clone git@github.com:eduardoboucas/staticman.git
Now create a config.production.json file and add the following contents in it:
{
  "githubToken": process.env.GITHUB_TOKEN,
  "rsaPrivateKey": JSON.stringify(process.env.RSA_PRIVATE_KEY),
  "port": 8080
}
I don’t know if the port is required or not but it doesn’t hurt to leave it there. You can try running it without the port and let me know in the comments whether it worked or not.
Let’s make sure our .gitignore isn’t ignoring this file (it is set to ignore all the config file by default). Add this line in the .gitignore file in the root of the cloned repo:
!config.production.json
The ! tells git to ignore the ignore rules for this file and actually add it into git. Think of it as whitelisting ignores.
Now create another file with the name of Procfile in the root of this cloned repo and add this to it:
web: npm start
Next step is to actually create a Heroku app and upload this code up there. We can do that by first logging into Heroku via the command-line and creating the app:
$ heroku login
$ heroku create <app_name>
You should replace <app_name> with something different.
You might have observed that in our config.production.json file we wrote process.env.GITHUB_TOKEN and process.env.RSA_PRIVATE_KEY. These lines are instructing staticman to take these values from the environment variable. This is important because we don’t want to actually commit our token and RSA key in git. So now let’s actually update the environment variables on Heroku to actually reflect this.
heroku config:set GITHUB_TOKEN="*******"
Replace ******* with the actual token you generated in the previous step. We also need to generate a private key for staticman to encrypt stuff with:
$ openssl genrsa -out key.pem
And now let’s put this key in an environment variable on Heroku as well:
$ heroku config:set RSA_PRIVATE_KEY="$(cat ./key.pem)"
The only thing left to push everything onto Heroku is to actually commit this code. Let’s do that:
$ git add .
$ git commit -m "added code for release"
$ git push heroku
This should give some output from Heroku and should mention in the end that the app has been deployed.
Step 4: Adding staticman.yml to Hugo
Now we need to create a new file called staticman.yml in the root of our actual blog repo. This is used by staticman for configuration purposes and to actually keep track of which fields should be allowed in the form.
My staticman.yml file looks like this:
---
comments:
  allowedFields:
    - name
    - email
    - website
    - comment
    - reply_to
  branch: master
  commitMessage: "New comment in {options.slug}"
  filename: "comment-{@timestamp}"
  format: yaml
  generatedFields:
    date:
      options:
        format: iso8601
      type: date
  moderation: true
  path: "data/comments/{options.slug}"
  requiredFields:
    - name
    - email
    - comment
  transforms:
    email: md5
This is super simple and tells staticman to do a couple of things. It tells it where to put the comment data (data/comments/{options.slug} in this case), which fields are allowed and which ones from among them are required. I have also turned on moderation because spam is a real issue. I need to manually moderate the comments. I have added a reply_to field as well. This is going to be used when we implement nested comments.
After creating this file, we need to create data/comments folder in the root of our blog repo as well. Once you do that, create a .keep file in there so that git knows to add that empty folder in version control.
Now stage your changes, commit them and push them:
$ git add .
$ git commit -m "added staticman.yml and data/comments folder"
$ git push origin master
Step 5: Adding Comment Partials in Hugo Theme
Now the next step is to actually create the partials which will display the comments. Create a partials/comments.html file in your theme’s layout folder and add the following text in it:
{{ if and .Site.Params.staticman (not (or .Site.Params.disable_comments .Params.disable_comments)) }}
<section id="comments">
{{ if .Site.Params.staticman }}
<h3 class="title"><a href="#comments">✍ Comments</a></h3>
<section class="staticman-comments post-comments">
{{ $comments := readDir "data/comments" }}
{{ $.Scratch.Add "hasComments" 0 }}
{{ $postSlug := .File.BaseFileName }}
{{ range $comments }}
{{ if eq .Name $postSlug }}
{{ $.Scratch.Add "hasComments" 1 }}
{{ range $index, $comments := (index $.Site.Data.comments $postSlug ) }}
{{ if not .reply_to }}
<div id="commentid-{{ ._id }}" class="post-comment">
<div class="post-comment-header">
<img class="post-comment-avatar" src="https://www.gravatar.com/avatar/{{ .email }}?s=70&r=pg&d=identicon">
<p class="post-comment-info">
<span class="post-comment-name">{{ .name }}</span>
<br>
<a href="#commentid-{{ ._id }}" title="Permalink to this comment">
<time class="post-time">{{ dateFormat "Monday, Jan 2, 2006 at 15:04 MST" .date }}</time>
</a>
</p>
</div>
<div class="comment-message">
{{ .comment | markdownify }}
</div>
<div class="comment__reply">
<button id="{{ ._id }}" class="btn-info" href="#comment-form" onclick="changeValue('fields[reply_to]', '{{ ._id }}')">Reply to {{ .name }}</button>
</div>
</div>
{{ partial "comment-replies" (dict "entryId_parent" $postSlug "SiteDataComments_parent" $.Site.Data.comments "parentId" ._id "parentName" .name "context" .) }}
{{ end }}
{{ end }}
{{ end }}
{{ end }}
<form id="comment-form" class="post-new-comment" method="post" action="{{ .Site.Params.staticman.endpoint }}/{{ .Site.Params.staticman.username }}/{{ .Site.Params.staticman.repository }}/{{ .Site.Params.staticman.branch }}/comments">
{{ if eq ($.Scratch.Get "hasComments") 0 }}
<p>Be the first to leave a comment! 🎉</p>
{{ end }}
<h3 class="prompt">Say something</h3>
<input type="hidden" name="options[redirect]" value="{{ .Permalink }}#comment-submitted">
<input type="hidden" name="options[slug]" value="{{ .File.BaseFileName }}">
<input type="text" name="fields[name]" class="post-comment-field" placeholder="Name *" required/>
<input type="email" name="fields[email]" class="post-comment-field" placeholder="Email address (will not be public) *" required/>
<input type="hidden" id="comment-parent" name="fields[reply_to]" value="">
<textarea name="fields[comment]" class="post-comment-field" placeholder="Comment (markdown is accepted) *" required rows="10"></textarea>
<input type="submit" class="post-comment-field btn btn-primary comment-buttons" value="Submit">
</form>
</section>
<div id="comment-submitted" class="dialog">
<h3>Thank you!</h3>
<p>Your comment has been submitted and will be published once it has been approved. 😊</p>
<p><a href="#" class="btn btn-primary comment-buttons ok">OK</a></p>
</div>
{{ end }}
</section>
{{ end }}
Now create a partials/comment-replies.html file and add the following text to it:
{{ range $index, $comments := (index $.SiteDataComments_parent $.entryId_parent ) }}
  {{ if eq .reply_to $.parentId }}
    <div id="commentid-{{ ._id }}" class="post-comment reply">
        <div class="arrow-up"></div>
        <div class="post-comment-header">
            <img class="post-comment-avatar" src="https://www.gravatar.com/avatar/{{ .email }}?s=70&r=pg&d=identicon">
            <p class="post-comment-info">
                <span class="post-comment-name">{{ .name }}<br><i><small>In reply to {{ $.parentName }}</i></small></span>
                <br>
                <a href="#commentid-{{ ._id }}" title="Permalink to this comment">
                    <time class="post-time">{{ dateFormat "Monday, Jan 2, 2006 at 15:04 MST" .date }}</time>
                </a>
            </p>
        </div>
        <div class="comment-message">
            {{ .comment | markdownify }}
        </div>
        <div class="comment__reply">
            <button id="{{ ._id }}" class="btn-info" href="#comment-form" onclick="changeValue('fields[reply_to]', '{{ $.parentId }}')">Reply to thread</button>
        </div>
    </div>
  {{ end }}
{{ end }}
Now go to _default/single.html or whichever template you use to render a blog-post and add this code somewhere (depends on where you actually want to render the comments):
{{ partial "comments.html" .}}
My single.html file looks like this:
{{ partial "header.html" . }}
    <main role="main" class="single-main">
        <article class="single" itemscope itemtype="http://schema.org/BlogPosting">
            <h1 class="entry-title" itemprop="headline">{{ .Title | emojify}}</h1>
            <span class="entry-meta">
                {{ if not (.Params.showthedate) }}
                <time itemprop="datePublished" datetime="{{ .Date.Format "2006-01-02" }}">{{ .Date.Format "January 02, 2006" }}</time>
                {{end}}
            </span>
            <section itemprop="entry-text">
                {{ .Content }}
                   {{ partial "tags.html" .}}
            </section>
        </article>
            {{ partial "related.html" .}}
            {{ partial "comments.html" .}}
    </main>

{{ partial "footer.html" . }}
Next step is to actually style the comments. You can keep it clean or go as crazy as you want. I will leave the styling to you. You can find some CSS in one of the posts I have linked in the sources section at the end of this post. If you want inspiration from a terrible designer then you can also open the developer tools and examine this very page 😄
Now go to your config.toml file in the root of your blog repo and add the following text under the [params] section:
[params.staticman]
    endpoint = "https://app_name.herokuapp.com/v2/entry"
    username = "your_username"
    repository = "your_blog_repo"
    branch = "master"
Replace the app_name in endpoint with the URL of your Heroku app. Replace your_username with your actual GitHub username and your_blog_repo with the name of your blog repo. For instance, if your blog is located at https://github.com/awesome-man/best-blog then your username is going to be awesome-man and your repository is going to be best-blog.
Let’s commit and push this to GitHub:
$ git add .
$ git commit -m "added partials and config changes"
$ git push
After your first push with the config file, you can actually test the changes locally before pushing again:
$ hugo serve
The first push is required to put the config file in GitHub so that staticman can read it.
Step 6: Nested Comments
Nested comments should be working as it is. In the partials you copied above, the nested comments functionality is automatically enabled. You just need to add one more change. Add this to your js file used by your blog/website:
function changeValue(elementName, newValue){
  document.getElementsByName(elementName)[0].value=newValue;
  window.location.hash = "#comment-form";
};
This will populate the reply_to field of your form based on which comment you are trying to comment to. After you push this one last change on GitHub everything should be working fine.
Troubleshooting:
I encountered one issue during this process. For some reason staticman was not working correctly and was giving me this error:
2019-06-21T22:39:02.405127+00:00 app[web.1]: Error: Require an `oauthToken` or `token` option
2019-06-21T22:39:02.405145+00:00 app[web.1]: at new GitHub (/app/lib/GitHub.js:49:13)
2019-06-21T22:39:02.405146+00:00 app[web.1]: at module.exports (/app/controllers/connect.js:12:18)
2019-06-21T22:39:02.405152+00:00 app[web.1]: at Layer.handle [as handle_request] (/app/node_modules/express/lib/router/layer.js:95:5)
2019-06-21T22:39:02.405154+00:00 app[web.1]: at next (/app/node_modules/express/lib/router/route.js:137:13)
2019-06-21T22:39:02.405156+00:00 app[web.1]: at /app/server.js:130:12
2019-06-21T22:39:02.405157+00:00 app[web.1]: at Layer.handle [as handle_request] (/app/node_modules/express/lib/router/layer.js:95:5)
In order to fix this, I had to edit the staticman/lib/GitHub.js file and edit one if condition from this:
if (options.oauthToken) {
  this.api.authenticate({
    type: 'oauth',
    token: options.oauthToken
  })
} else if (isLegacyAuth) {
  this.api.authenticate({
    type: 'token',
    token: config.get('githubToken')
  })
} else if (isAppAuth) {
  this.authentication = this._authenticate(
    options.username,
    options.repository
  )
} else {
  throw new Error('Require an `oauthToken` or `token` option')
}
to this:
if (isLegacyAuth) {
  this.api.authenticate({
    type: 'token',
    token: config.get('githubToken')
  })
} else if (options.oauthToken) {
  this.api.authenticate({
    type: 'oauth',
    token: options.oauthToken
  })
} else if (isAppAuth) {
  this.authentication = this._authenticate(
    options.username,
    options.repository
  )
} else {
  throw new Error('Require an `oauthToken` or `token` option')
}
Another error I encountered was:
"errorCode": "GITHUB_READING_FILE"
This was because I hadn’t created the data/comments directory. Make sure you have that directory with an empty .keep file in it.
After these change, everything started working again. The one thing I did not cover in this tutorial is email notifications for follow-up comments. I will cover them once I implement them in this blog. Till then you can follow the link in the sources section below. One of them teaches you how to implement that.
I wrote most of this article from memory. If you get any error please write a comment below and I will happily update the post.
Till next time! ❤️
Edit: Vin100 made some remarks about some of the issues I shared in this article. Make sure to check out his comment!
My blog is now open source. You can look at how I have implemented this here.
Sources:
👉 Hugo + Staticman: Nested Replies and E-mail Notifications
Yasoob
Enrique
Yasoob
In reply to Enrique
Yasoob
In reply to Enrique
Daniel
In reply to Enrique
django
In reply to Enrique
hhh
In reply to Enrique
Harry
Yasoob
In reply to Harry
Omer
Patrick
Yasoob
Yasoob
In reply to Yasoob
Harlem
Yasoob
Howard
Brendan
Boaz
In reply to Brendan
bob
In reply to Brendan
Atahan
In reply to Brendan
Yasoob
In reply to Brendan
Vin100 Tam
In reply to Brendan
Yudy
In reply to Brendan
Xin Zhang
Yasoob
In reply to Xin Zhang
Vin100
In reply to Xin Zhang
Vin100 Tam
Yasoob
In reply to Vin100 Tam
Yudy
Yasoob
In reply to Yudy
Siddhartha Banerjee
Sean
ElArk
hoang
Sonia
Bradford
Calvert
Calvert
Michael Scepaniak
Allen
Tuấn Nguyễn
RazonYang
David